設定您的專案
說明如何建立新的 Flutter 應用程式的操作指引。
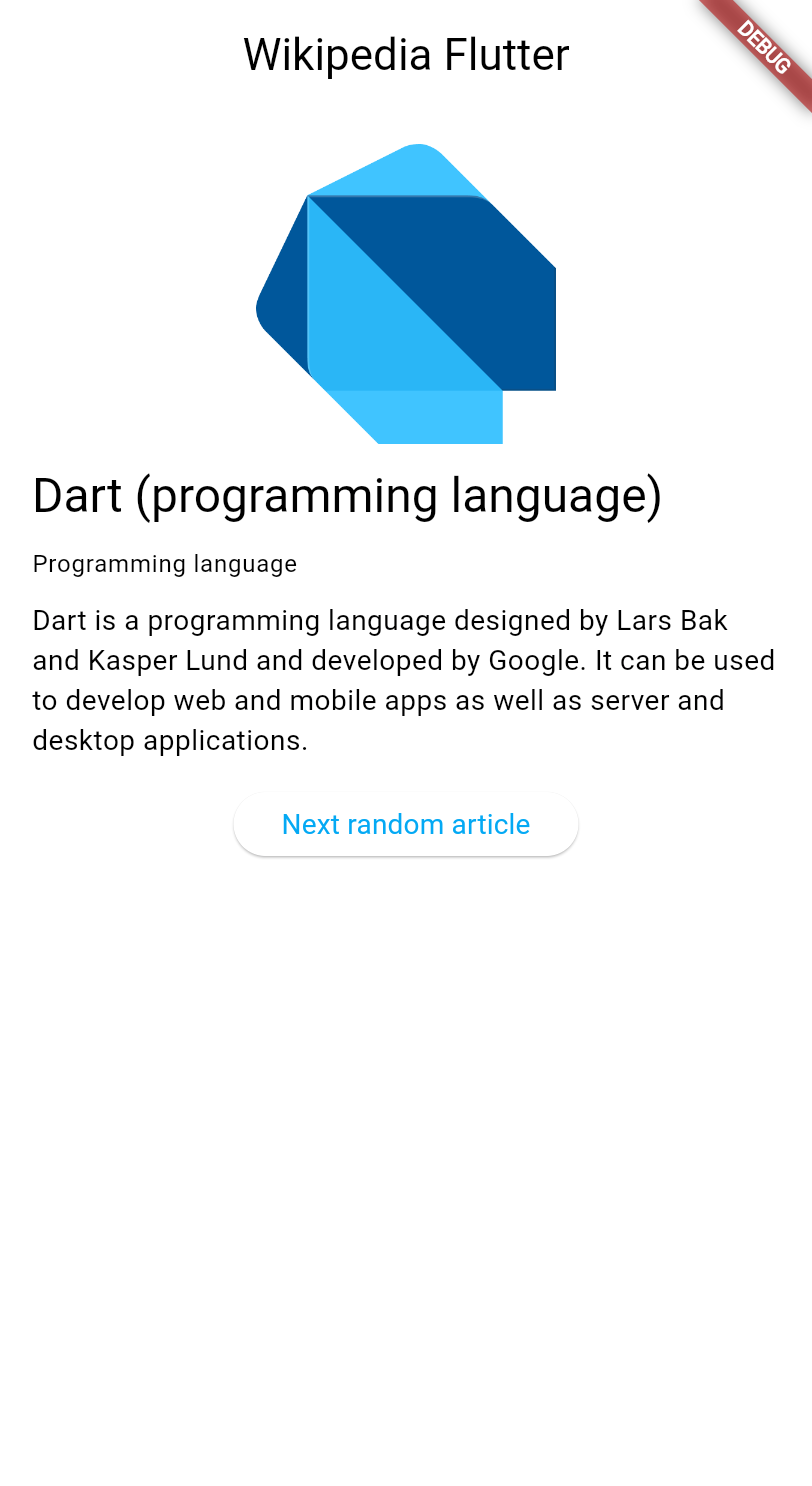
預覽您將建置的維基百科閱讀器應用程式,並設定含有必要套件的初始專案。
您將完成的事項
Steps
1
簡介
簡介
在接下來的幾堂課中,您將學習如何在 Flutter 應用程式中處理資料。 您將建置一個能夠從 Wikipedia API 擷取並顯示文章摘要的應用程式。
這些課程將探討以下主題:
- 在 Flutter 中發出 HTTP 請求。
- 使用
ChangeNotifier管理應用程式狀態 (state)。 - 使用 MVVM 架構模式。
- 建立能在資料變更時自動更新的響應式使用者介面。
本教學假設您已完成 Dart 入門 與 Flutter UI 簡介 教學,因此不會另行說明 HTTP、JSON 或元件 (Widget) 基礎等概念。
2
建立新的 Flutter 專案
建立新的 Flutter 專案
使用 Flutter CLI 建立新的 Flutter 專案。 在您慣用的終端機中,執行以下指令以建立一個最簡化的 Flutter 應用程式:
flutter create wikipedia_reader --empty
3
新增必要的相依套件
新增必要的相依套件
您的應用程式需要 http 套件 來發出 HTTP 請求。
將其加入您的專案:
cd wikipedia_reader && flutter pub add http
4
檢視起始程式碼
檢視起始程式碼
首先,建立新檔案 lib/summary.dart 以定義維基百科文章摘要的資料模型。
此檔案沒有特殊邏輯,僅是代表維基百科 API 所回傳資料的類別集合。
您只需將下方程式碼複製到檔案中,之後便無需再關注此檔案。
若您對基本 Dart 類別尚不熟悉,請先閱讀 Dart 入門 教學。
/// Representation of the JSON data returned by the Wikipedia API.
class Summary {
/// Returns a new [Summary] instance.
Summary({
required this.titles,
required this.pageId,
required this.extract,
required this.extractHtml,
required this.lang,
required this.dir,
required this.url,
this.description,
this.thumbnail,
this.originalImage,
});
/// The title information of this article.
final TitlesSet titles;
/// The page ID of this article.
final int pageId;
/// The first few sentences of the article in plain text.
final String extract;
/// The first few sentences of the article in HTML format.
final String extractHtml;
/// The language code of the article's content, such as "en" for English.
final String lang;
/// The text directionality of the article's content, such as "ltr" or "rtl".
final String dir;
/// The URL of the page.
final String url;
/// A description of the article, if available.
final String? description;
/// A thumbnail-sized version of the article's primary image, if available.
final ImageFile? thumbnail;
/// The original full-sized article's primary image, if available.
final ImageFile? originalImage;
/// Whether this article has an image.
bool get hasImage => originalImage != null && thumbnail != null;
/// Returns a new [Summary] instance and imports its values from a JSON map
static Summary fromJson(Map<String, Object?> json) {
return switch (json) {
{
'titles': final Map<String, Object?> titles,
'pageid': final int pageId,
'extract': final String extract,
'extract_html': final String extractHtml,
'thumbnail': final Map<String, Object?> thumbnail,
'originalimage': final Map<String, Object?> originalImage,
'lang': final String lang,
'dir': final String dir,
'description': final String description,
'content_urls': {
'desktop': {'page': final String url},
'mobile': {'page': String _},
},
} =>
Summary(
titles: TitlesSet.fromJson(titles),
pageId: pageId,
extract: extract,
extractHtml: extractHtml,
thumbnail: ImageFile.fromJson(thumbnail),
originalImage: ImageFile.fromJson(originalImage),
lang: lang,
dir: dir,
description: description,
url: url,
),
{
'titles': final Map<String, Object?> titles,
'pageid': final int pageId,
'extract': final String extract,
'extract_html': final String extractHtml,
'lang': final String lang,
'dir': final String dir,
'description': final String description,
'content_urls': {
'desktop': {'page': final String url},
'mobile': {'page': String _},
},
} =>
Summary(
titles: TitlesSet.fromJson(titles),
pageId: pageId,
extract: extract,
extractHtml: extractHtml,
lang: lang,
dir: dir,
description: description,
url: url,
),
{
'titles': final Map<String, Object?> titles,
'pageid': final int pageId,
'extract': final String extract,
'extract_html': final String extractHtml,
'lang': final String lang,
'dir': final String dir,
'content_urls': {
'desktop': {'page': final String url},
'mobile': {'page': String _},
},
} =>
Summary(
titles: TitlesSet.fromJson(titles),
pageId: pageId,
extract: extract,
extractHtml: extractHtml,
lang: lang,
dir: dir,
url: url,
),
_ => throw FormatException('Could not deserialize Summary, json=$json'),
};
}
@override
String toString() =>
'Summary['
'titles=$titles, '
'pageId=$pageId, '
'extract=$extract, '
'extractHtml=$extractHtml, '
'thumbnail=${thumbnail ?? 'null'}, '
'originalImage=${originalImage ?? 'null'}, '
'lang=$lang, '
'dir=$dir, '
'description=$description'
']';
}
// Image path and size, but doesn't contain any Wikipedia descriptions.
class ImageFile {
/// Returns a new [ImageFile] instance.
ImageFile({required this.source, required this.width, required this.height});
/// The URI of the original image.
final String source;
/// The width of the original image.
final int width;
/// The height of the original image.
final int height;
/// The file extension of the image, or 'err' if one can't be determined.
String get extension {
final extension = getFileExtension(source);
// By default, return a non-viable image extension.
return extension ?? 'err';
}
/// Returns a JSON map representation of this [ImageFile].
Map<String, Object?> toJson() {
return <String, Object?>{
'source': source,
'width': width,
'height': height,
};
}
/// Returns a new [ImageFile] instance with its values populated from [json].
static ImageFile fromJson(Map<String, Object?> json) {
if (json case {
'source': final String source,
'height': final int height,
'width': final int width,
}) {
return ImageFile(source: source, width: width, height: height);
}
throw FormatException('Could not deserialize OriginalImage, json=$json');
}
@override
String toString() =>
'OriginalImage[source_=$source, width=$width, height=$height]';
}
class TitlesSet {
/// Returns a new [TitlesSet] instance.
TitlesSet({
required this.canonical,
required this.normalized,
required this.display,
});
/// The non-prefixed DB key for the article.
///
/// Might contain changes such as underscores instead of spaces.
/// Best suited for making request URIs, but still requires percent-encoding.
final String canonical;
/// The [normalized title](https://www.mediawiki.org/wiki/API:Query#Example_2:_Title_normalization)
/// of the article.
final String normalized;
/// The title as it should be displayed to the user.
final String display;
/// Returns a new [TitlesSet] instance with its values populated from [json].
static TitlesSet fromJson(Map<String, Object?> json) {
if (json case {
'canonical': final String canonical,
'normalized': final String normalized,
'display': final String display,
}) {
return TitlesSet(
canonical: canonical,
normalized: normalized,
display: display,
);
}
throw FormatException('Could not deserialize TitleSet, json=$json');
}
@override
String toString() =>
'TitlesSet['
'canonical=$canonical, '
'normalized=$normalized, '
'display=$display'
']';
}
String? getFileExtension(String file) {
final segments = file.split('.');
if (segments.isNotEmpty) return segments.last;
return null;
}
const acceptableImageFormats = ['png', 'jpg', 'jpeg'];
接著,開啟 lib/main.dart,將現有程式碼替換為以下基本結構,
其中已加入應用程式所需的必要匯入:
import 'dart:convert';
import 'dart:io';
import 'package:flutter/material.dart';
import 'package:http/http.dart';
import 'summary.dart';
void main() {
runApp(const MainApp());
}
class MainApp extends StatelessWidget {
const MainApp({super.key});
@override
Widget build(BuildContext context) {
return MaterialApp(
home: Scaffold(
appBar: AppBar(title: const Text('Wikipedia Flutter')),
body: const Center(child: Text('Loading...')),
),
);
}
}
此程式碼提供了帶有標題列與佔位內容的基本應用程式結構。 頂部的匯入項目包含了 HTTP 請求、JSON 解析以及維基百科資料模型所需的一切。
5
執行您的應用程式
執行您的應用程式
執行您的應用程式,確認一切正常運作:
flutter run -d chrome
您應該會看到一個簡單的應用程式,其應用程式列顯示「Wikipedia Flutter」, 畫面中央顯示「Loading...」。
6
回顧
回顧
您完成的事項
以下是您在本課中建置與學習內容的摘要。預覽了維基百科閱讀器應用程式
您正在開始一個以資料處理為核心的新教學單元。 您將學習 HTTP 請求、使用 ChangeNotifier 進行狀態管理, 以及 MVVM 架構模式。
新增了 http 套件並建立了資料模型
您使用 flutter pub add 安裝了用於發出 HTTP 請求的 http 套件, 並為維基百科資料建立了 Summary 類別。 套件讓您能夠善用社群已建置的現有程式碼, 而無需從頭開始建置所有功能。
設定了初始專案結構
您的應用程式已具備基本結構,包含 HTTP 請求、JSON 解析 以及維基百科資料所需的所有匯入項目。 您已準備好開始從維基百科 API 擷取真實資料!
7
自我測驗
自我測驗
專案設定測驗
1 / 2-
建立一個只能在網頁上執行的專案。
Not quite
此旗標不限制平台;它只影響起始範本。
-
建立一個完全沒有任何檔案的專案。
Not quite
專案仍會包含必要的檔案;它只是使用最簡化的範本。
-
建立一個不含任何相依套件的專案。
Not quite
專案仍會包含 Flutter 核心相依套件。
-
建立一個樣板程式碼較少的最簡化 Flutter 專案。
That's right!
`--empty` 旗標會產生一個不含預設計數器應用程式的最簡化起始範本。
-
`flutter install [package_name]`
Not quite
正確的指令使用 `pub add`,而非 `install`。
-
`flutter package install [package_name]`
Not quite
不存在 `flutter package` 指令;請使用 `flutter pub add`。
-
`dart get [package_name]`
Not quite
新增套件的指令是 `flutter pub add` 或直接編輯 pubspec.yaml。
-
`flutter pub add [package_name]`
That's right!
執行 `flutter pub add` 會將套件加入 pubspec.yaml 並下載套件。
Unless stated otherwise, the documentation on this site reflects Flutter 3.44.0. Page last updated on 2026-06-14. View source or report an issue.